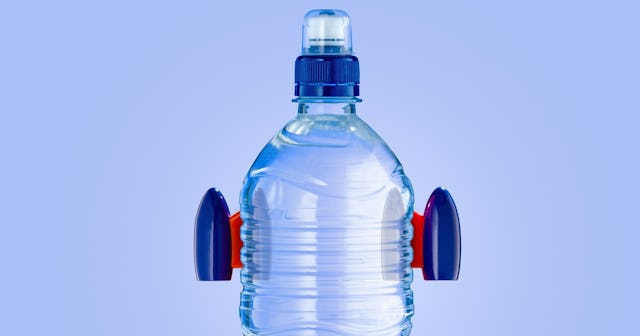
How to Make A Water Rocket With Your Little Aspiring Astronaut

Creating at-home science experiments is not only super-fun for kids, but it also helps develop a child’s resourcefulness by allowing them to set goals, plan, and problem-solve. Learning how to create these science projects also helps nurture a child’s curiosity about how things work in the world. It expands their understanding of knowledge, including the mechanics of how things operate. Plus, they just love doing rad things! Enter the water rocket. Learning how to make water rockets is a dynamic DIY activity for kids that will — score — keep them occupied.
Bonus: This activity doesn’t require a ton of materials. While there are variations of designs, all you basically need is a plastic bottle, water, cork, needle adaptor, and pump. And, of course, a large space outdoors for the rocket to fly. Lookin’ to learn more about how to make a water rocket? We’ve got you covered.
What is a water rocket?
Basically, a water rocket is a type of model rocket that uses H20 as its generator when the water gets forced out by a pressurized gas (usually air compressed from a bicycle pump or air compressor). The pressure of the air pushing the water is strong enough to force the cork out of the end of the bottle. There is push-pull energy at play as the water rushes out of the bottle in one direction while the bottle pushes back in the other, resulting in the rocket shooting up into the sky. Whoa!
The majority of bottle rockets will consist of a body made from a plastic soft drink bottle and four fins. The fins help add surface area to the rear of the rocket, which keeps the rocket’s nose guided towards the wind. Adding a nose cone can greatly reduce resistance and provide weight to help stabilize the rocket in flight — plus, it will look more like an actual rocket.
What do you need to make a water bottle rocket?
- An empty two-liter plastic bottle
- Cardboard or construction paper to make into a cone and four fins
- A cork
- A pump (a bicycle pump or a simple air compressor will do)
- Water
How do you construct a water bottle rocket?
- Fill the bottle one-quarter full of water and push the cork in tightly.
- Push the needle of the pump through the cork. Trim the cork accordingly.
- Decorate the bottle with the cone and fins. Place the cone over the front of the bottle (over the cork) and place the four fins at the bottom of the bottle.
- Take the bottle outside (if you’re not outdoors already) and connect the pump to the needle adaptor. Place it on its launching pad, which can be as simple as resting it on a box or a small platform.
- Pump air into the bottle. Word of caution: Water rockets can be dangerous. It’s critical, especially for little ones, not to approach a pressurized rocket. The force of the pump will cause liftoff in seconds, which is why it’s imperative for adults to either supervise or be in charge of the liftoff entirely.
- Watch your rocket fly!
What are some easy designs?
When it comes to sprucing up your design, they basically have the same concept — bottle, cone, and fins — but you can jazz up your water bottle rocket with different colors on the cone and fin. You might want to swap out a bigger for a smaller bottle, or vice versa. Adding a parachute using a garbage bag is also a nice touch.
How high do water rockets go?
To your kid, their water rocket can break the atmosphere and touch the moon. However, realistically, they can go as high as 100 to 130 feet. If you want your water rocket to get air, increase the pressure inside of the bottle to increase the thrust.
How do I make my water rocket fly higher?
Now that you know how high your water rocket can go, shoot for the stars. For your creation to get some serious air, it’s important to build a sizeable amount of thrust or force. Do this by increasing the pressure inside the bottle. Also, make sure you use the right amount of water to keep your aircraft from being weighed down. Use a nozzle that’s proportionate to your rocket and add no more than three fins to your spaceship. And remember before your rocket takes off, let the air inside the pressure chamber cool down. When air is first inside of the rocket, it’s hot. But as the temperature decreases, the pressure drops. You’ll also get way more air if you fly your rocket on a windless day. A breeze can hurt your rocket’s flight pattern and keep it from reaching its full height.
Where can you buy water rocket toys?
Of course, you might want to buy a water rocket for your kiddo instead of DIY’ing it. Happily, you’ll find plenty of these toys available. Here are a few of our favorites:
AquaPod Water Bottle Rocket Launcher Science Kit ($40)
Science in Action Water Rocket Kit ($21)
Water Bottle Stomp Model Rocket Launcher Genovega ($17)
Who invented water rockets?
There are many origins when it comes to water rockets. Joanes de Fontana was one of the first to make water pressurized weapons. During the 17th century, he created the first torpedo rocket, which blew up enemy ships. The first steam-powered rockets were made in 300 BCE. Aulus Gellius modeled it. He created a model pigeon that used steam to “fly” while wires hoisted it up. After a few hundred years, Hero of Alexandria created a similar rocket that used steam as well. He used a water basin, fire, and pipes to power his device.
This article was originally published on